Happy #DIYFRIDAY
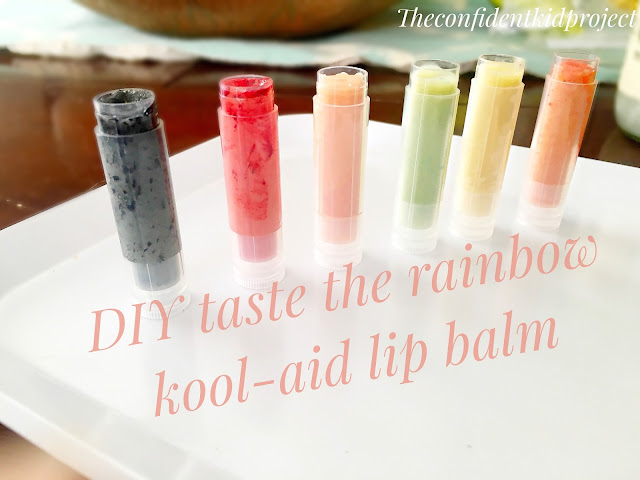
If you follow me on Snapchat ( Jeanicewebb) you know that last week Jordyn and I made these kool-aid lip balms, today i'm sharing all the details! I let Jordyn decide what craft she wants to make every week and she decided on lip balm. I saw quite a few lip balm DIYs made with vaseline but I wasn't completely sure about it since I don't like the feel of vaseline. I came across a few recipes that called for coconut oil and beeswax and I was sold!
Here's what you need.
SUPPLIES
coconut oil.
small measuring cup or funnel
lip balm tubes or small pots
And here's what you do!
1: Start by measuring out about 1/4 tsp of each kook-aid flavor into different containers.
2: Melt your beeswax in the microwave at 30 second intervals until completely melted. You won't need to heat up the coconut oil, it should liquify once it comes in contact with the hot beeswax. For measurements you want to keep a 2:1 ratio of coconut oil to beeswax.
We made 6 tubes but for each tube we measured out 2 tsp of coconut oil to 1 tsp of beeswax.
3: pour your hot mixture into the individual containers you prepared and stir.
4: use your small measuring cup to pour each mixture into its tube, rinsing between each color. Let sit for about 5 minutes until they harden!
These were super fun and simple to make but here's a few tips to help you make yours even better;
1: the colors will be very pale, add a few drops of water to activate the cool crystals to make the colors more vibrant.
2: The grape Kool-aid turns a REALLY dark black color...i'd skip this one.
3: the Kool-aid is bit sour, so maybe add in a little sugar if you're not a fan of sour, Jordyn likes it so we didn't.
4: These will tint the lips, so while the crazy colors are fun to make...keep that in mind.
5: Keep the 2:1 ratio...if you add more beeswax, the lip balm will be too firm and will be harder to spread on your lips.
Xo, Jeanice


