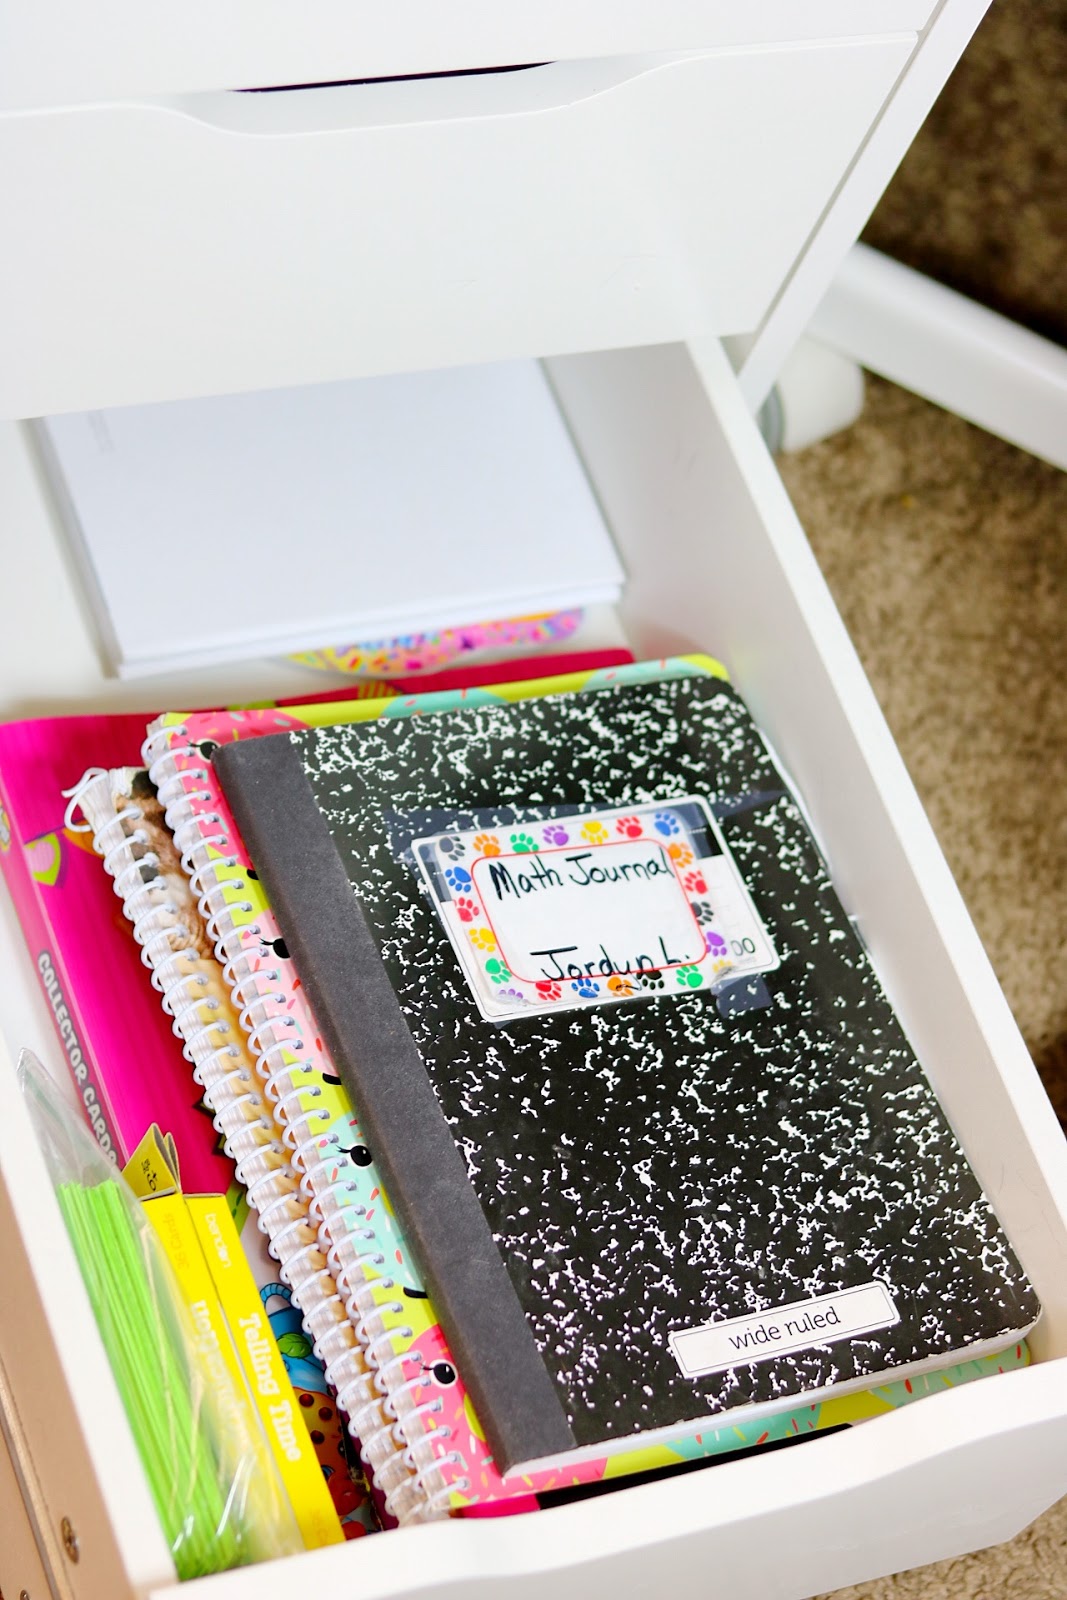
We are in full back to school mode over here! I've been cleaning out & organizing Jordyns desk, preparing for back to school and I finally finished school shopping, we'll be doing a back to school haul video this week on our Youtube channel, if you haven't already, go ahead and subscribe HERE
I can't say that Jordyn is particularly excited to do homework but I mean, what kid is? So, I like to create a bright & lively space for her to do her homework, study, and get her created juices flowing.
Her reversible sequin emoji poop pillow is from Walmart
Above her desk she has 2 shelves that I got from Lowes. They are hold more of her favorite knick knacks.
The wall decals are by Paper Riot Co and I got them from Target
Jordyns desk, like her room, is very reflective of her personality. Very bright, bold, electric, and fun. It's a space all her own where she can work, play, & create.
Ya'll I have stress.....Jordyn only has 8 days left of 3rd grade.
8.....days....left.
Holy smokes.....what the heck? How? Where did my baby go?!
So many questions.....so much anxiety.
The end of year is super fun and full of so many activities.
This week is hawaii week, Jords has an egg drop challenge and a field trip coming up, midnight madness, and the end of year award ceremony.
Of course, Jords and I like to gift her teacher with an end of year present as a thank you for everything she has done for us this year.
We also like to give the class a little something as well. All the kiddos worked hard this year and they deserve to be celebrated.
I picked up Pop Rocks gum from Dollar tree.
They came 3 in a pack so I only spent around 8 bucks to have enough for the whole class. I printed out a simple tag from ohrubbishblog.com and voila.....something cute and simple to give to the class on the last day of school.
I wanted to give Jordyns teacher something that said thank you but would also be useful for next year as well and if there is something I learned about her this year its that she's super crafty but could stand to be a little more organized. Ha......can't we all?!
I went to Michaels to browse around for some ideas and found that the MAMBI Happy Planners and accessories we're all on sale for 40% off! ummm....Score!!
I picked up one of the new Teacher planner box kits that usually retail for 39.99 but came up to around 24 dollars with the 40% off offer.
Inside the planner I wrote a very heartfelt note letting her know how much I appreciate everything she has done for Jordyn and the class this year and how I hope the planner helps set her up for a successful next school year.
In addition to all the fun planner supplies, I threw in a super cute coffee mug from Marshalls ( I knoowwww, teachers don't need more mugs with apples on them....however, it was 3 dollars and adorable and is more of a filler than an actual gift.) and a 50 dollar Spa Finder gift card . I knew that in addition to gifting her something that would help set her up for success next school year, I wanted to gift her something that would help her relax. After all, she has worked hard all year... I knew I wanted to gift her something for a spa but I didn't want it to be super specific so the Spa Finder gift card is perfect because its good at thousands of locations so she can pick a spa that she prefers.
I threw everything together in the cutest little ruler box that I had picked up from Target at the beginning of the school year.
I'm super happy with how both the class and teacher gift turned out and cannot wait until the last day of school to give them out!
So valentines day is on a Tuesday this year huh?....Wow, what genius made that happen? I mean really, the one night out of the year that is supposed to be all about romance and candlelit dinners and all that jazz....falls on a Tuesday...Right smack dab in the middle of the school and work week...I mean, what are we supposed to do here?...How exactly are we supposed to have a romantic valentines date night in the middle of the week when we've got everyday weeknight stuff to do?
I mean, I guess we ditch the romantic part and just go ahead with a family style valentines date night, actually, that doesn't sound half bad. I'm here for the romance, it's 100% necessary for healthy and happy relationships but sometimes, like this Valentines day, its just not possible so here are a few ways to make valentines date night special......as a family.
1.WRITE LOVE NOTES.
Before you all sit down to eat take a few minutes to write down a few simple reasons you love eachother. Take turns sharing them out loud around the dinner table. This not only reassures family love but it also reinforces family bonding.
Image Credit: spirituallythinking.blogspot.com
2. SPRUCE UP YOUR TABLE SETTING.
I mean, you could go out but honestly, for me...the long waits, inflated prices, and packed restaurants would probably not only result in Jordyn melting down, but me as well. And lets be real, you're going to spend more time waiting than you will eating, and lets not forget that we've got to get back home and get ready for bed at a decent hour. Yeah.....no thanks.
Instead, set your table with some beautiful valentines decor, light some candles, and cook your
families favorite special meal.
3.VALENTINES MOCKTAILS
Whats a celebration without cocktails?....It's super easy to whip some up at home for your special date night and even easier to whip up some kid friendly mocktails. Try this perfectly sparkling cotton candy cocktail;
YOU'LL NEED:
SPARKLING WATER,CLUB SODA, OR ANY SPARKLING JUICE.
PINK COTTON CANDY
HEART SPRINKLES
CORN SYRUP
WHAT YOU DO:
DIP THE RIM OF YOUR GLASSES INTO CORN SYRUP AND THEN DIP INTO SPRINKLES.
CHILL YOUR GLASSES FOR ABOUT 30 MINS.
ADD ICE TO YOUR GLASSES AND POUR IN YOUR SPARKLING JUICE OR WATER.
ADD A SMALL AMOUNT OF COTTON CANDY TO TURN YOUR JUICE PINK.
TOP OFF WITH A CHUNK OF COTTON CANDY.
NOTE: Pushing the cotton candy down into the drink right before drinking will make for a pretty exciting presentation for the kiddos.
4: WHATS DINNER WITHOUT DESSERT....
Obviously you want to have an extra special dessert on valentines day. Make your families favorite or try something new!! Something extra special and super simple that you can't go wrong with is crockpot chocolate fondue! Grab some different types of chocolate, white, dark, milk...whatever your heart desires and pour them into mason jars. Then, fill your crockpot about half way with water, place your mason jars of chocolate into your crockpot and allow to melt....Once melted, remove the melted chocolate jars from the crockpot. Then set out a plate of fruit, marshmallows, and even graham crackers with some sticks for dipping.
This makes for a fun, interactive dessert nobody can resist.
5: FINISH OFF THE NIGHT WITH GAME NIGHT OR MOVIE NIGHT.
After you're all full and happy whip out a board game or cuddle up in your favorite place with a bunch of blankets and pillows and watch a good movie.
Our favorite place to cuddle is on the couch in the living room....also, how cute is baby Jordyn in the background? Ha!...
Spending valentines day in with your family doesnt mean it has to be boring or treated as an inconvenience. You and your family can make it beautiful and special with a few special touches. What are your plans for this Valentines day? Are you going out or staying in?
Whatever you do, I hope your day is filled with all the love!!
Happy Monday, guys! I hope your new year has been going well.
Lets jump right into it....
I don't know about you all but one of my biggest peeves ever is having to repeat myself. I HATE IT!!! I don't like to ask people to do things more than once...I hate it....I hate it..I hate it!... and that is no exception in the home. I potty training and teaching Jordyn her initial responsibilities when she was younger was the worst time of my liiifeeeee. Ok, probably not the worst time but it was an extremely frustrating time. Then, when she got braces...ohhhhhhh man.....let me tell you!!...I had to stress her and stress her about brushing and flossing SO much until she got to a point where she did it without having to be reminded...Listen, when she finally did get to the point where I know longer had to remind her.....it was GLORIOUS!
Jordyn is 9 now and all of the chores and responsibilities i've instilled in her, she's pretty much got down so we have no need for an actual chore chart. I have however, been trying to teach her to contribute more to the household but sadly in an effort to not end up repeating myself, I just end up doing what i've asked her to do myself. *sigh...
I needed a solution that wasn't a chore chart but something more like of one of those little charts you see in bathrooms at stores...You know, those checklists that show how many times the bathroom has been cleaned and at what time?....Yea, one of those. I also knew that I needed this chart to be placed in her space so that I didn't have to remind her to go look at it...If it was placed in her room, she would see it without having to go out of her way.
I couldn't find a board with all the lines I needed so I just grabbed a plain dry erase board and created my own lines.....which is why they look so crappy. HA!
I made the lines with dry erase marker but i'll probably be going back in and re-doing them in permanent marker.
I then broke it down into the morning, afternoon, and night tasks she's responsible for. Once she's done with each tasks she simply checks off the box. I like that its big and she can visually see how responsible she is being. Clearly, she was slacking at the beginning of the week but she got it together towards the end. I asked her how she felt about seeing all the check marks and she said " I feel like a responsible woman!" lol!!
I also included a "Tech Time" section. During the week we only allow Jordyn to use her technology equipment ( iPad, Nintendo DS, Laptop, ipod) for things other than homework, for one hour. On the weekend, its 2 hours. If she wants to earn additional tech time, she can complete a task each worth 15 mins. She is only allowed to earn up to 1 additional hour a day.
When we first made this rule, Jordyn thought it was the worst!...Come to find out, most days, she doesn't even use up her first hour!
This daily task board was super easy to make and is working great so far....I mean, this morning, I didn't have to remind Jordyn to replace the toilet paper in her bathroom so i'd say thats a success.
We LOVE Halloween over here. It gives us a time to have fun and be creative however, those of us with natural hair know that we sometimes have to think outside of the box when incorporating our kids favorite characters or bringing their costumes to life. So, I wanted to have a little #throwbackthursday fun and share with you all a few of Jordyns past costumes that are perfect for curly haired kiddos.
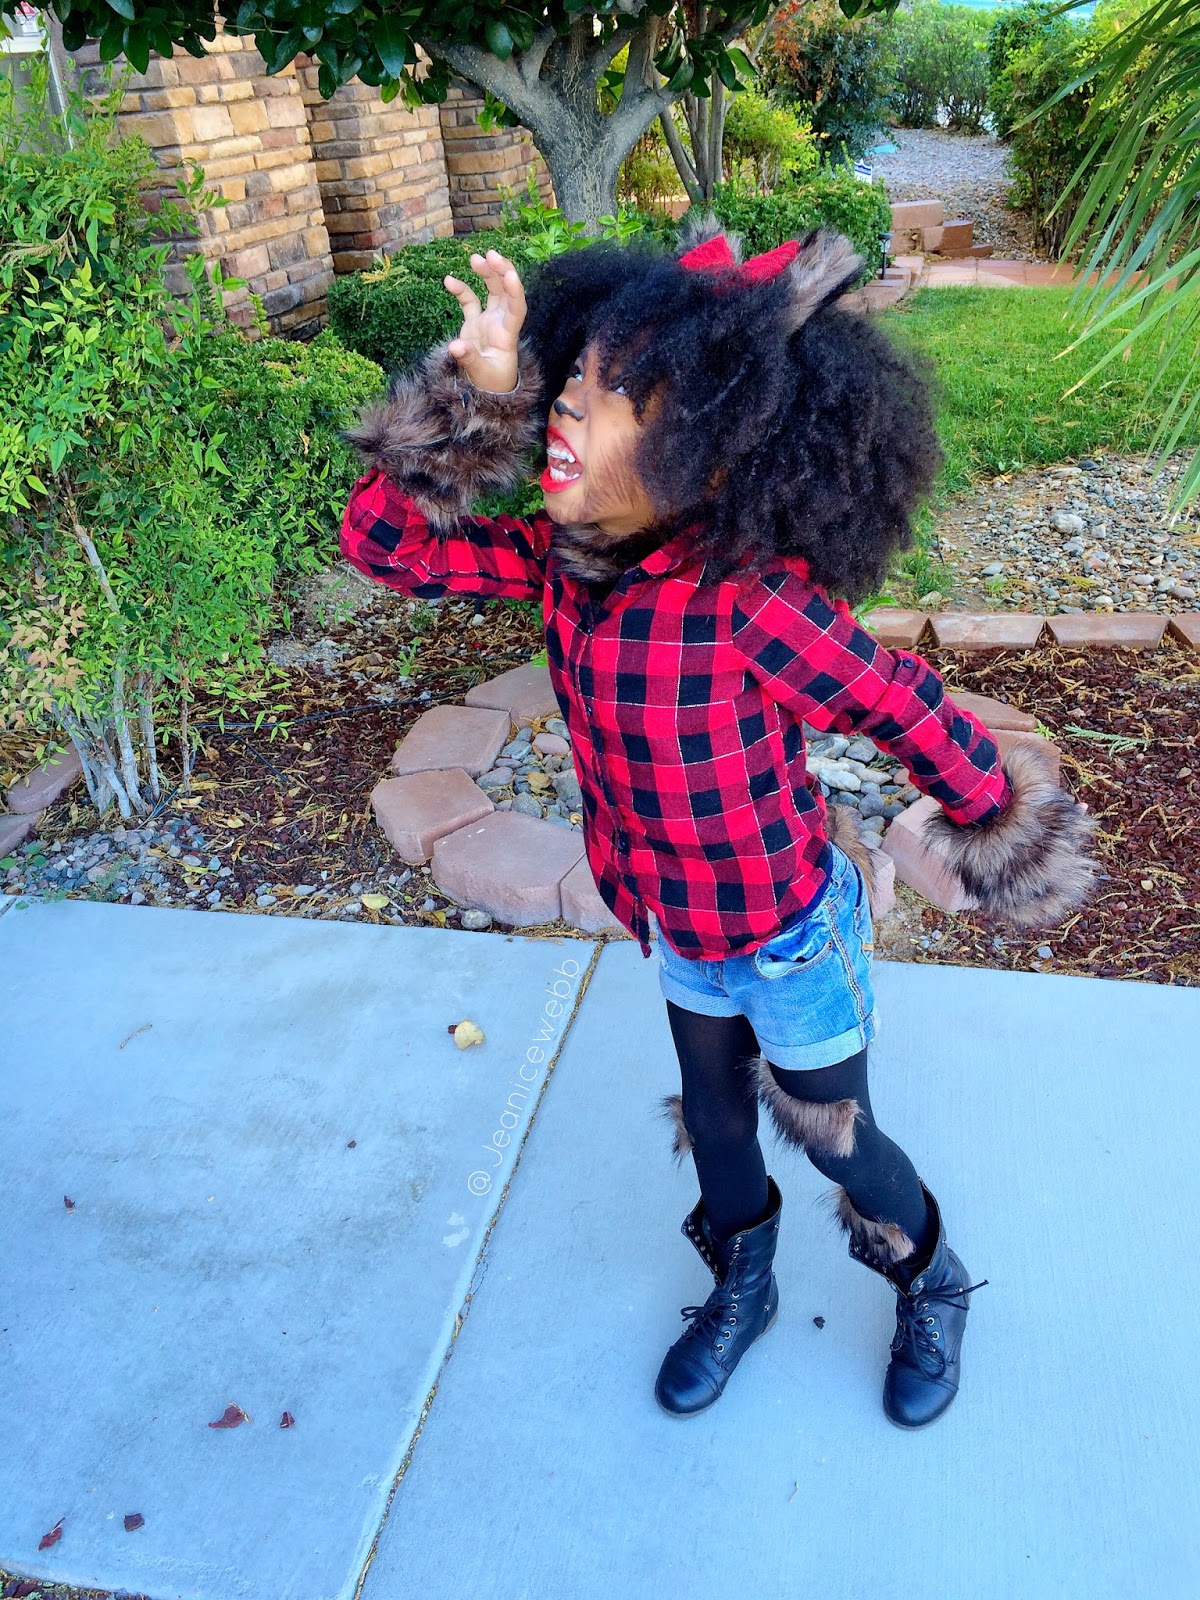
Costume #1: "Tween wolf"
This extremely simple DIY is MADE for curly kids, simply style their hair in a wash and go and bam!! hair is set!
FOR THE HAIR:
I used Miss Jessies Pillow Soft Curls which is one of our favorites for a achieving soft, touchable, fluffy, yet defined wash and go.
Hot glue fur to the inside of the shirt & to the wrist area.
Cut holes in leggings ( or jeans) and hot glue pieces of fur to the insides of the holes.
For the tail: wrap the fur into itself diagonally, going into a point...use hot glue to secure it together.
Attach a safety pin to the end of the tail and then attach it to the back of your jeans.
For the ears: cut card stock in the shape of ears..Cut fur into the same shape.
Cover both the front and back of the ears and use hot glue to secure to the plastic headband.
For the makeup: I used E.L.F brown and black eyeliner and red lipstick to give Jordyn a simple, wolf look.
Costume #2: Madeline Hatter ( or, your childs favorite princess)
This costume is semi-DIY since the costume itself is store bought. The accessories and hair are all simple DIYs.
FOR THE HAIR:
When your kiddos want to be princess or fairy tale characters that have hair that isn't their natural color, we have to get creative. Those colored hair sprays are cool but the MESS!..ugh...Try buying colored yarn or marley hair and twisting it into your kids hair like I did here with Jordyns.
We just did regular twists throughout her head and incorporated purple and blue hair to match her character. It was SO cute!!
I'm a big believer that accessories MAKE the costume...especially a store bought one. The hat that came with this costume was....less than desirable so, I made a new one.
Roll the craft foam into a tube like shape and hot glue to secure.
Cut out a small circle of craft foam to cover the top. Hot glue to secure.
Cut a bigger circle to act as the bottom of the hat and hot glue to tube shape to that bottom piece to secure.
Cut a thin strip of scrapbook paper and wrap around the base of the hat. Hot glue to secure.
Hot glue your bow to the front.
Use the hot glue to attach the tulle, feather, and plastic mouse to the side of the hat
Hot glue your hat to the plastic headband.
So now you've got your hair and accessories done right...but lets not ruin our perfect costume with a bright orange trick or treat pumpkin. Lets turn our pumpkin into part of the our costume!
Cut arm holes and a neck hole through the closed end of the pillow case
Hot glue some ribbon and trim and viola..you have your dress!
SIDENOTE: be sure to have your kiddo wear clothing under the pillow case as it literally is a pillow case and is thin and kind of see through. lol. Jordyn had on shorts and a tank top on.